OpenTX
Contents
Sensor
Displays
- RPM (Revolutions Per Minute)
Motor Details
- Determine the number of magnetic poles (blades in OpenTX)
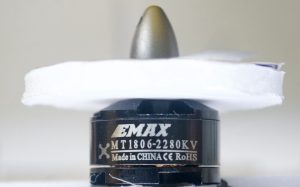
- Emax MT1806-2280KV
- Framework 12N14P
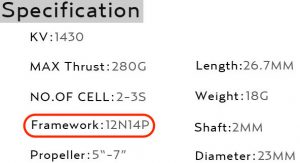
- 14P = 14 Magnets = 7 Pole Pairs = 7 blades in OpenTX
- Note the KV 2280 revolutions per minute per volt
Setup
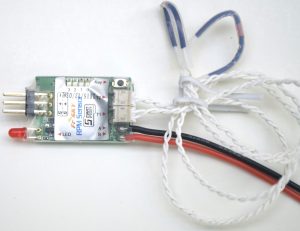
- Connection diagram
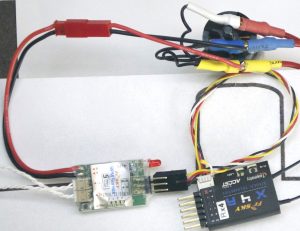
- Turn On Tx
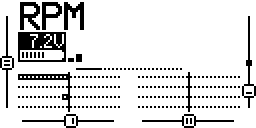
- Power up Rx with sensor connected
Motor connected with propeller removed
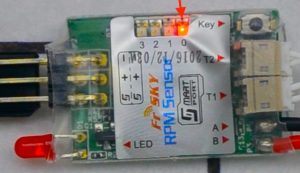
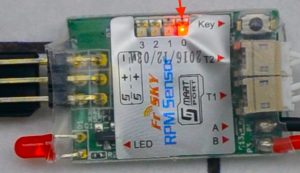
Throttle at minimum - Observe the LED that flashes on the sensor
Only LED 0 should flash, if not see “Sensor Pole Pair Setting” below
- Press MENU
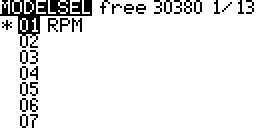
- Long press PAGE twice

- Scroll down to “Discover new sensors”, press ENT

- New sensors will be discovered, with “Stop discovery” selected press ENT
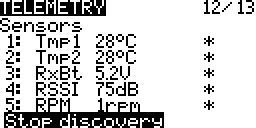
- Scroll up and select the “RPM” sensor
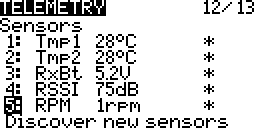
- Long press ENT
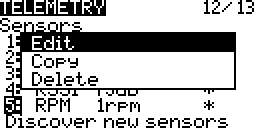
- Select “Edit”, press ENT
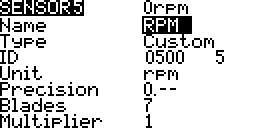
- Scroll down and select Blades
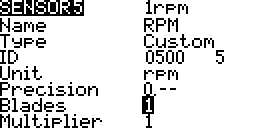
- Press ENT
Scroll to select the number 7
7 magnet pairs = 14 magnets = 14P
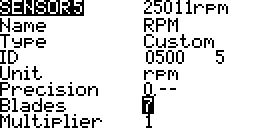
- Press EXIT twice
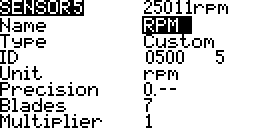
- Press EXIT
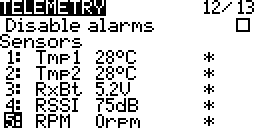
Testing
- With propeller removed increase the throttle
Observe RPM values change - Increase throttle to maximum
Note the RPM 25,011rpm
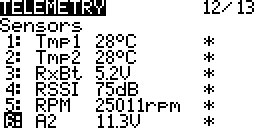
- If A2 is present and connected note the battery voltage A2 11.3V
If A2 is not present or not connected use a voltmeter attached to the battery
Often A2 is present but is not connected in which case the voltage displayed is an arbitrary value. Don’t use this value. - Multiply the KV with battery voltage
2280 x 11.3 = 25,764 rpm (theoretical) - The theoretical RPM (25,764) should be close to the sensor RPM (25,011)
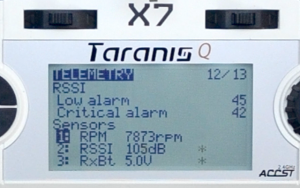
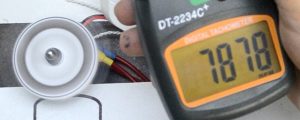
In this example there is a 5% difference - Use a tachometer to verify the measured RPM
DANIU DT2234C+
Sensor Pole Pair Setting
- Power on the sensor
Observe the number of the LED that flashes
LED 0 should be the only one that flashes

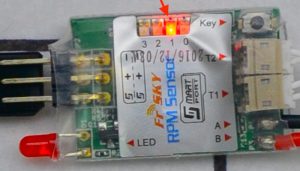
If a different LED flashes, or more than one LED flashes set the sensor by pressing the Key button
Example of incorrect LED flashing
- Press the Key button till an LED turns on
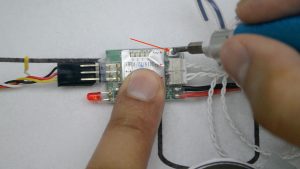
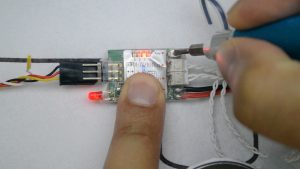
- Repeatedly press the Key button till only LED 0 is lit
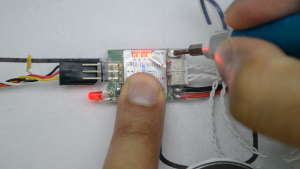
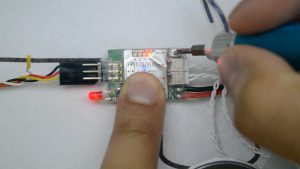
- When only LED 0 is lit turn the sensor off and then on
Only LED 0 will be lit
