OpenTX
Contents
Receiver & Sensor
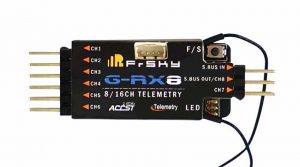
Description
- Has a built in variometer sensor
- Has redundancy capability where a second receiver may be connected
Setup
Binding 2 Receivers (Redundancy)
For the second receiver use any receiver with an SBUS out.
- Turn on the Tx
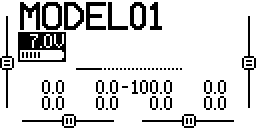
- Press MENU
Scroll down and select an empty model line
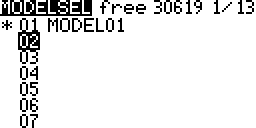
- Press ENTER
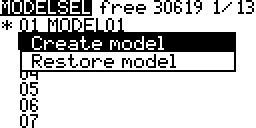
- Select Create model
Press ENTER
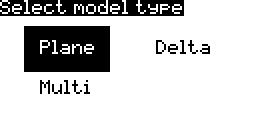
- Follow the model wizard
This may or may not show up depending on the SD Card contents
Without the wizard a basic fixed wing model is created - A model is created
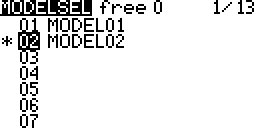
- Press PAGE
The model SETUP Screen is displayed
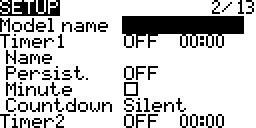
- Scroll down to Internal RF
Mode D16 & Ch. Range CH1-16 is usually selected by default
The RxNum may be changed if desired but not required
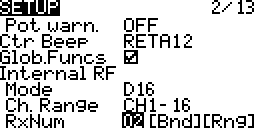
- Select [Bnd]
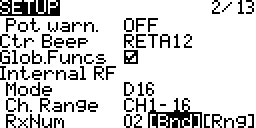
- Press ENTER
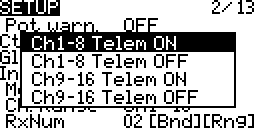
- Select Ch1-8 Telem OFF

- Press ENTER
A beeping will be heard indicating that the Tx is in bind mode

- Press the Bind button on the second receiver (the one that is not the G-RX8)
- Power the receiver
The Green LED should stay on indicating a successful bind
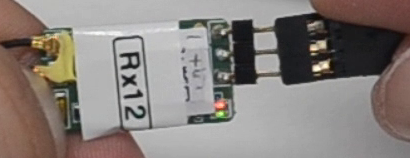
- Release the Bind button
- Remove power from the receiver
- Press EXIT on the transmitter
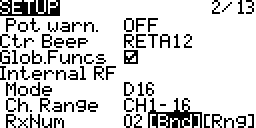
- Keep the receiver number the same
- Press ENTER

- Select Ch1-8 Telem ON
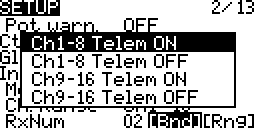
- Press ENTER
A beeping will be heard indicating that the Tx is in bind mode
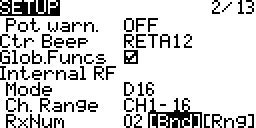
- Press the Bind button on the second receiver (the one that is not the G-RX8)
- Power the receiver
The Green LED should stay on indicating a successful bind
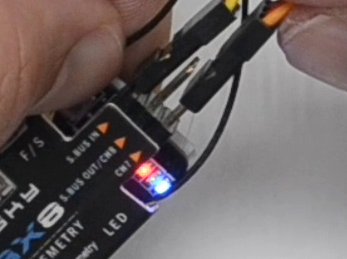
- Release the Bind button
- Remove power from the receiver
- Press EXIT on the transmitter
- Connect the SBUS out from the second receiver to the SBUS in of the G-RX8

- Power the G-RX8
- Both receiver should have a green light indicating that they are both bound to the transmitter.
Variometer
- Start with the main view on the transmitter and the G-RX8 powered on and connected to the transmitter
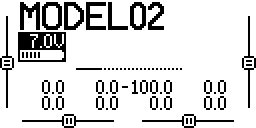
- Press MENU
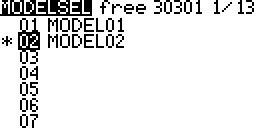
- Long Press PAGE twice
Or Press PAGE repeatedly till the TELEMETRY screen is displayed
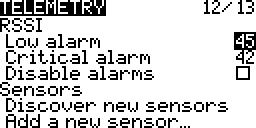
- Scroll down and select Discover new sensors
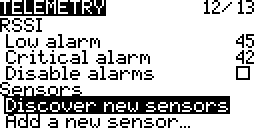
- Press ENTER
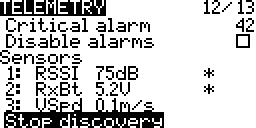
- Wait for the variometer (VSpd) to appear on the screen
- Select Stop discovery
- Press ENTER
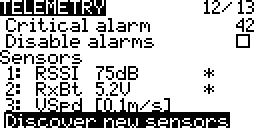
- Scroll down to Vario Source
Press ENTER
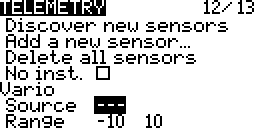
- Select VSpd
Press ENTER
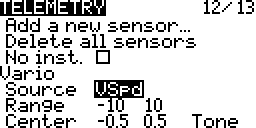
- You may optionally configure the range and centre dead band
More… - Long Press PAGE twice
Or Press PAGE repeatedly till the SPECIAL FUNCTIONS screen is displayed
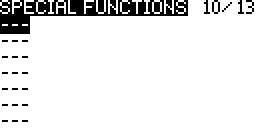
- Select an empty line
- Press ENTER
- Select a switch and position
This controls when the variometer sounds will be heard
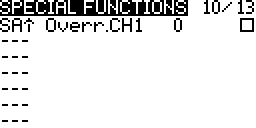
- Press ENTER
- Select Overr.
Press ENTER
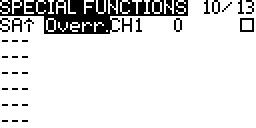
- Scroll till Vario is selected
Press ENTER
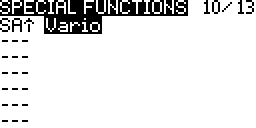
- When the G-RX8 is moved up and down different tones will be heard if the selected switch is in the selected position.
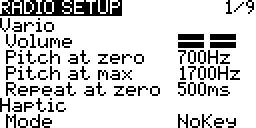
- More variometer sound settings are on the RADIO SETUP screen
More…
