
Taranis OpenTX S.Port Firmware Flashing
Contents
File Preparation
- Download the firmware
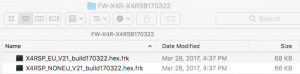
- Place the firmware on the SDCARD in the FIRMWARE folder
- Ensure that the file name is 33 characters or less including the dot and extension

Hardware Preparation
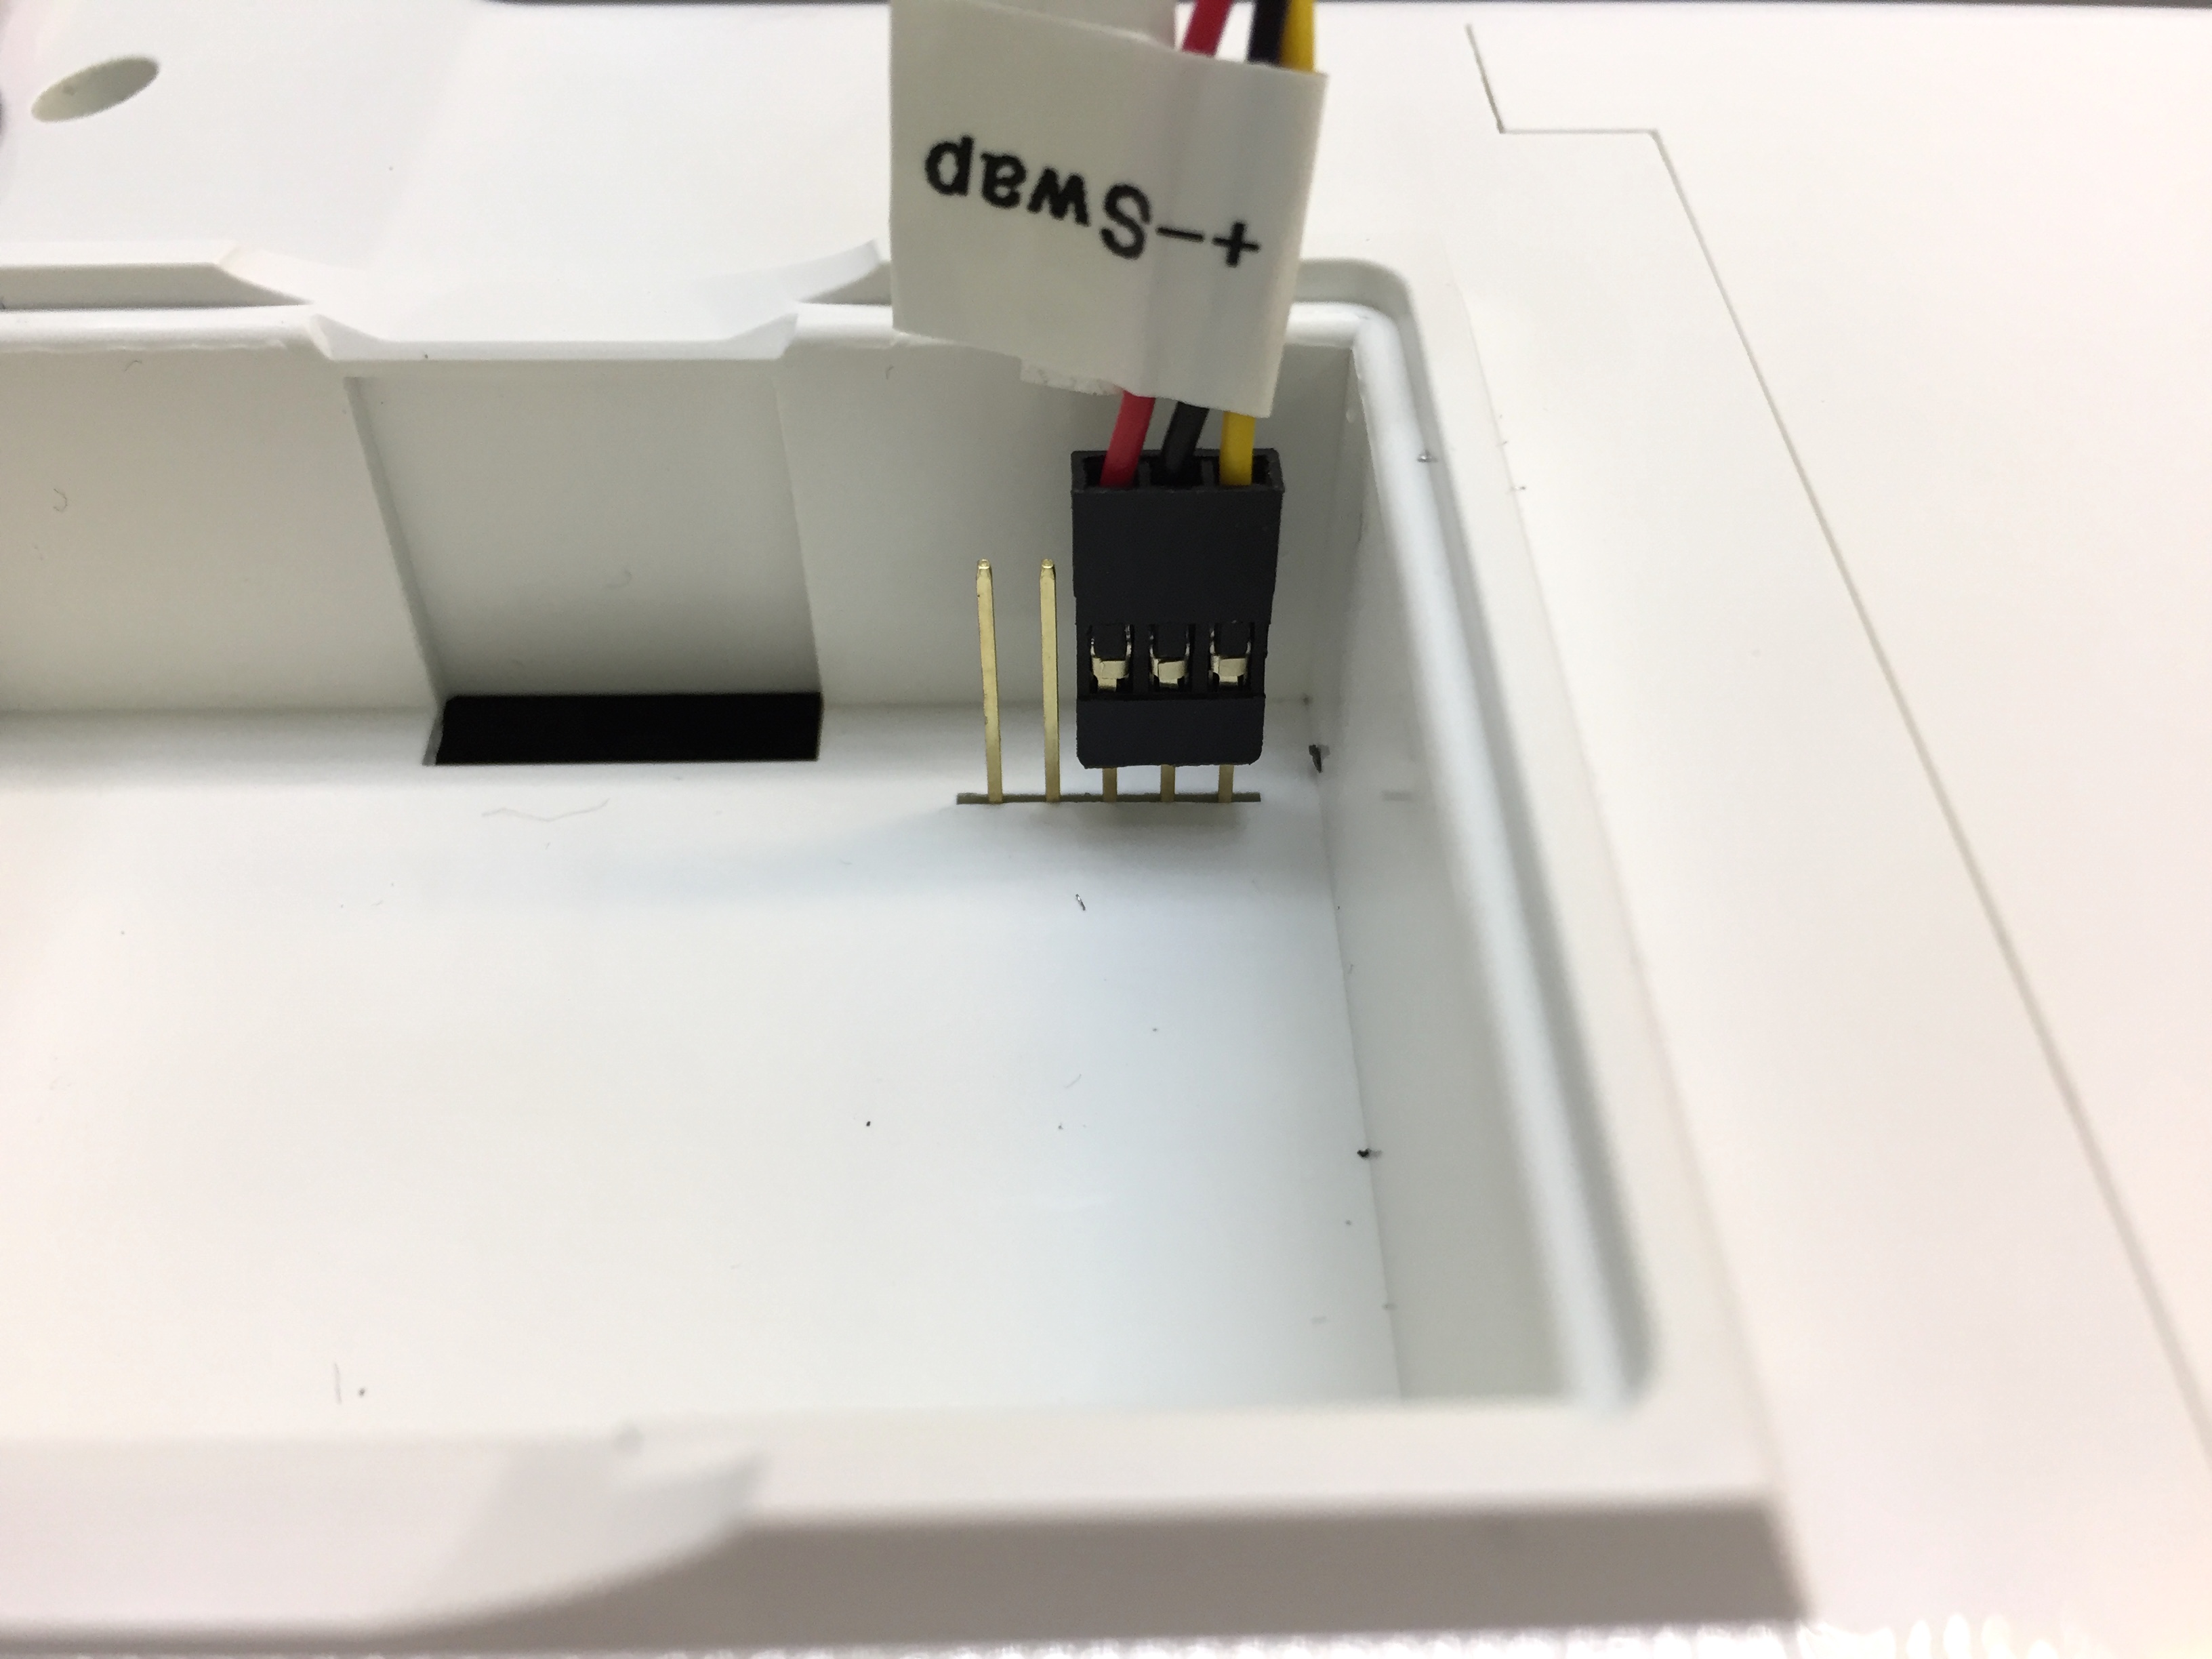
All transmitters except for Taranis Q X7 shipped with bottom S.Port pins
- The external module bay’s +ve pin has the same voltage as the transmitter’s battery
Check that the device being flashed is rated for the transmitter’s battery voltage
If it is not then either change the battery or add a BEC in between the module bay’s and device’s power pins - Use a servo cable with the positive and negative wires swapped at one end
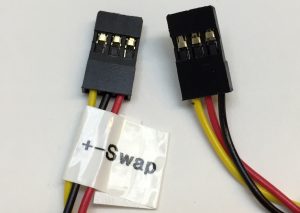
- Plug the modified servo cable on to the external module bay pins with the signal wire on the pin in the corner
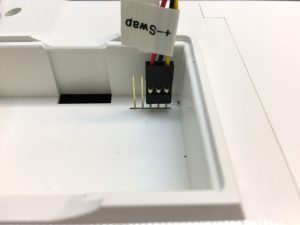
- Plug the other end of the modified servo cable onto the S.Port pins of the device to be flashed


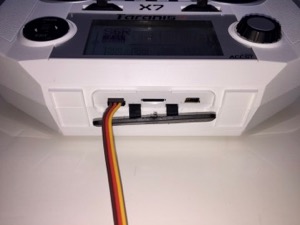
Taranis Q X7 shipped with bottom S.Port pins
- Use a regular servo cable
- Plug one end into the bottom S.Port

- Plug the other end into the device’s S.Port to be flashed
Taranis Q X7 bottom S.Port pins added
- Will not work
Flashing Steps
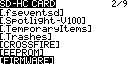
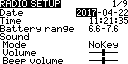
- From the main view
- Long press MENU
- Press PAGE to get to the SD-HC CARD screen
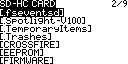
- Scroll down to the FIRMWARE directory
- Press ENT to enter the directory
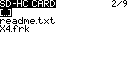
- Scroll down to the firmware file
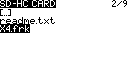
- Long press ENT to display the pop up menu
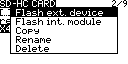
- Select Flash ext. device
Note: Select Flash int. module only if you are flashing the FrSKY XJT RF module built into the transmitter. - Press ENT
Wait for the progress bar screen to be displayed, it could take a few seconds

- When done the SD-HC CARD screen is displayed again
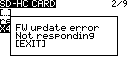
FW Update Errors
- Not responding
Check the connections
Try a different device and corresponding firmware
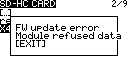
- Module refused data
Check connections
Try a different device and corresponding firmware
Comments, Questions & Help
- FliteTest Forum Taranis OpenTX S.Port Firmware Flashing Guide